Showing posts with label cake. Show all posts

20 January 2016

Ice Cream Panettone

I know Christmas is over but some of you may still have a panettone or two lingering around.  Panettone is a type of sweet bread/cake originating from Milan, usually prepared and enjoyed for Christmas and New Year in Italy and now in other countries as well.

I had one here last week so I decided to spruce it up for our family night dessert. If you don't have any panettone left, make sure you save or print this recipe for next year.

This recipe was inspired by my niece Daniela who made this same dessert for Christmas a couple of years ago. There are literally hundreds of variations you can experiment with from the type of panettone used, to what you use to brush the inner walls (Baileys or other alcohol adds a different flavour) and of course the ice cream you use to fill it.

As you have gathered, this is a cheat version - you do not need to make the panettone or the ice cream. It's relatively quick and simple but definitely has a wow factor.

I didn't fill mine quite enough and my photos aren't the best but you will get the general idea.


Ice Cream Panettone

Serves 10+

Panettone (I used one with chocolate in it)
1L tub of ice cream (I used Bulla's Choc Chip)
1 shot of espresso coffee (I used Nespresso's Ciocattino)


1. Leave tub of ice cream out of freezer so that it begins to soften.

2. Carefully cut the top of the panettone off and set aside.


3. Pull out the inside of the panettone, leaving enough of a wall and base so that it doesn't break. The panettone that you pull out can be set aside to be eaten at another time.

4. Using a pastry brush, lightly coat the inner walls and base of panettone with the espresso coffee.


5. Once the ice cream is sufficiently soft, fill the panettone with it. I should have put extra in because it wasn't completely softened and sunk a little once frozen. Make sure you pack it in!


6. Then simply place the top of the panettone back on, put the whole panettone in its original plastic package and seal tightly.


7. Put panettone into freezer for at least a couple of hours, or until ready to serve.

8. Then simply remove from packaging and slice up. So simple and yummy!


Don't forget to print this recipe off and save it for next Christmas!

19 October 2015

Best Ever Banana Cake

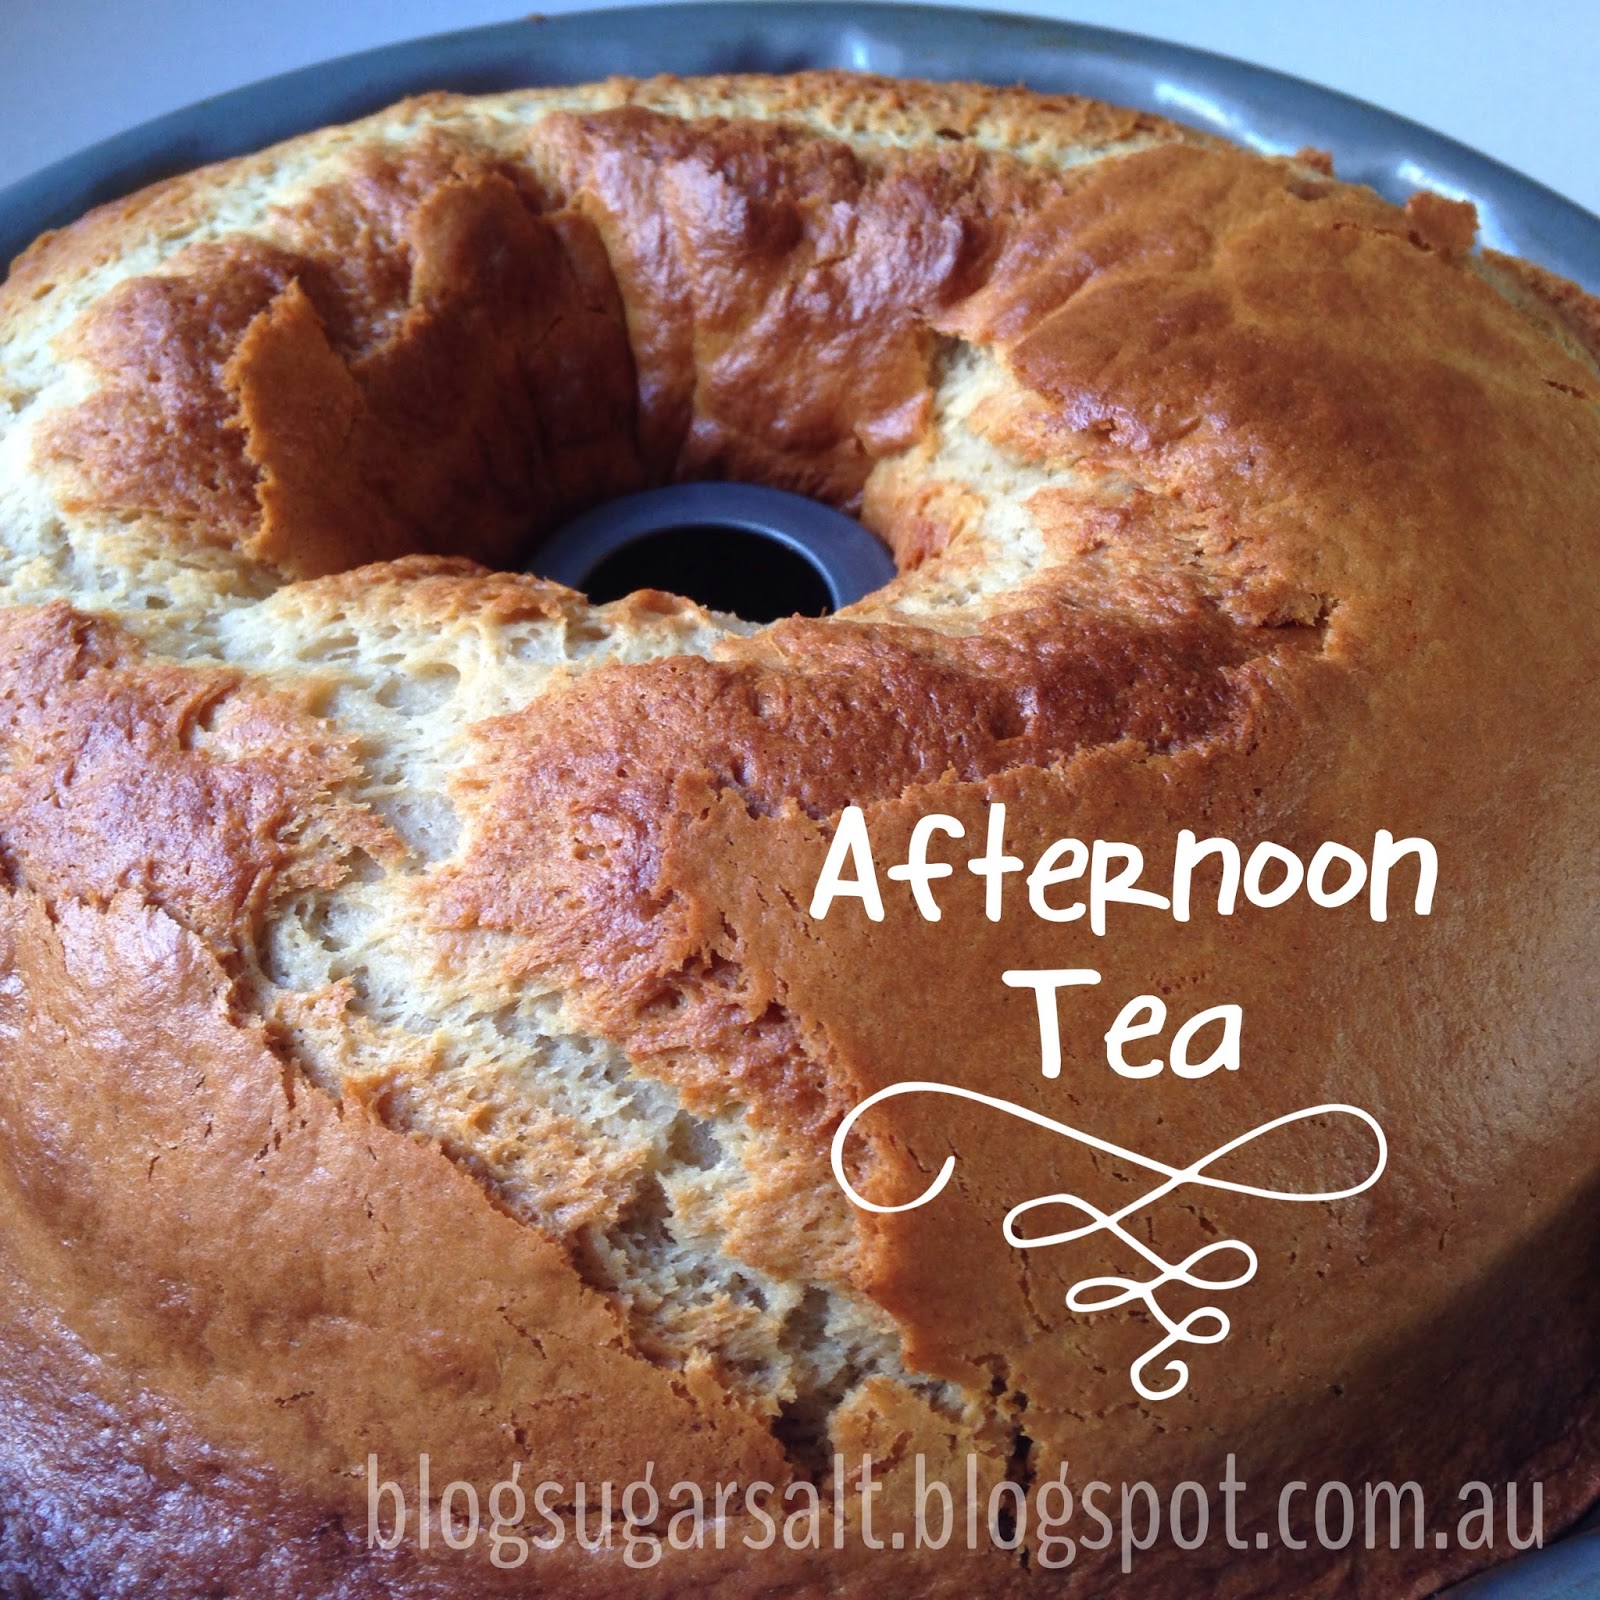
I have been meaning to share this recipe for so long, that when I finally sat down to write this blog post, I discovered hundreds of banana cake photos on my computer! Every time I would bake this cake, I would take photos. I still don't think I have the perfect photo - the one that captures how wonderful this cake really is.
 
However, once you know the history of this cake, you'll realise that's a near impossible task. For this cake is tied up with a thousand childhood memories. The recipe was handed down from my paternal grandmother to my mum and aunties, and has now also been passed on to my mother in-law and beyond. I really don't know where it originated but I remember my Nonna and mum baking it - and quite frankly, it's the best banana cake I have ever, ever tasted!
 
You see, I hate bananas. I can't stand banana flavoured food of any sort and detest the smell of bananas. The only way I'll consume bananas is via banana cake or banana bread - and that's all thanks to this one cake.
 
I seem to make it every time I glance at the fruit bowl and discover a few over ripe bananas. The batter is quite large in quantity so I always bake it in a large bundt tin, however, you can also split the batter and make two smaller cakes. If you do this, don't forget to adjust the cooking time. It can be frozen either whole or in individual slices as well, however I love it fresh and so do the kids. It's also one of those cakes that really doesn't need a topping. Sometimes I sprinkle some icing sugar on top but it isn't necessary.
 
Both traditional recipe and adapted thermomix recipe is included below. Quantities in grams are for the thermomix.
 

Best Ever Banana Cake

2-3 over ripe bananas (approx. 180g total)
3 cups (490g) self raising flour
1 1/2 teaspoons bi-carb soda
1 cup (210g) caster sugar
2/3 cup (140g) milk
3/4 cup (120g) olive oil
3 large eggs
1 1/2 teaspoons vanilla essence

Thermomix version

1. Preheat oven to 160 degrees fan forced.

2. Place bananas in TM bowl and mix for 10 seconds/speed 5. Scrape down sides.

3. Add flour, bi carb soda and sugar to the bowl. Mix for 20 seconds/speed 4.

4. Add milk, oil, eggs and vanilla essence to bowl and mix for 20 seconds/speed 5. Scrape down sides and mix for a further 10 seconds/speed 5.

5. Pour batter into a large greased bundt tin and bake for approximately 40 minutes or until an inserted skewer comes out clean.

6. Let cake rest in tin for 10 minutes then turn out onto a wire rack to cool.


Traditional version

1. Preheat oven to 160 degrees fan forced.

2. Mash bananas with a fork and place them in mixing bowl.

3. Sift flour and bi carb soda into same bowl as bananas, then add the caster sugar. Beat together until combined.

4. Add milk, oil, eggs and vanilla essence and mix until well combined, scraping down sides of bowl to make sure all ingredients are well incorporated.

5. Pour batter into a large greased bundt tin and bake for approximately 40 minutes or until an inserted skewer comes out clean.

6. Let cake rest in tin for 10 minutes then turn out onto a wire rack to cool.


24 April 2015

Mini Apple Cinnamon Muffins

The other day I bought my boys some mini cupcakes at the supermarket and one of the flavours was apple. They really weren't that great and I could hardly taste apple in it, which was probably to be expected from a supermarket chain product. I remembered a banana muffin recipe that I had found and made which I had scribbled down in my notebook - the texture of the muffin just lent itself to apple - so I set about recreating it and the result was wonderful. I'm so happy with how these mini muffins turned out. They have a firm top and are deliciously soft in the centre with big chunks of apple through them. Ideal for a morning tea or afternoon snack, I promise you they won't last long!

You don't even need a mixer for this recipe but for those wanting to use their Thermomix, I've included separate instructions.

 
Mini Apple Cinnamon Muffins
 
Makes approx. 15
 
1/2 400g tin pie fruit apple slices
1 3/4 cups plain flour
1 tablespoon baking powder
4 teaspoons cinnamon
1 teaspoon nutmeg
pinch of salt/sea salt
1 1/2 cups white sugar
1/2 cup coconut oil, melted
1/2 cup milk
1/4 cup brown sugar, lightly packed
1 tablespoon vanilla essence
 
Cinnamon Sugar Coating
1/4 cup caster sugar
1 teaspoon cinnamon
 
1. Preheat oven to 180 degrees Celsius fan forced.
 
2. Combine flour, baking powder, cinnamon, nutmeg and salt in a medium size bowl and set aside.
 
3. In a separate bowl, combine white sugar, coconut oil, milk, brown sugar and vanilla and whisk for a few minutes or until fully incorporated.
 
4. Pour wet mixture over dry mixture in first bowl.
 
5. Add apples on top of mixture and then fold through until both mixtures are fully blended together. You should end up with a dough-like consistency. It won't be runny.
 
6. Spoon dough mixture into muffin cases - I always use an ice-cream scoop with a "squeeze to empty" mechanism.
 
7. Bake in pre-heated oven for 20 minutes or until an inserted skewer comes out clean.
 
Straight out of the oven. If you prefer your muffins without the extra sweetness of the topping,
you can leave them like this. They'll taste just as delicious!
8. For the coating, place white sugar and cinnamon in a small dish and stir well to combine.

9. Taking care with the hot muffins, take each one and place face down into the dish with the cinnamon sugar. The moisture still present from the heat will be enough for the sugar to stick. If there are any small dips that miss out on sugar using this method, once turned upright, spoon a bit of sugar on top and then turn to shake off excess.


Cinnamon Sugar - a wonderful coating to complete these apple muffins.

Mini Apple Cinnamon Muffins (Thermomix version)
 
Makes approx. 15
 
1/2 400g tin pie fruit apple slices
250g plain flour
1 tablespoon baking powder
4 teaspoons cinnamon
1 teaspoon nutmeg
pinch of salt/sea salt
320g white sugar
100g coconut oil
100g milk
40g brown sugar
1 tablespoon vanilla essence
 
Cinnamon Sugar Coating
1/4 cup caster sugar
1 teaspoon cinnamon
 
1. Preheat oven to 180 degrees Celsius fan forced.
 
2. Add flour, baking powder, cinnamon, nutmeg and salt to Thermomix bowl and combine 5 seconds/speed 5. Set aside in a medium size bowl.
 
3. Spoon coconut oil into Thermomix bowl and melt for 30 seconds/50degrees/speed 4.
 
4. Attach whisking tool. Add white sugar, milk, brown sugar and vanilla and whisk for 2 minutes/speed 3.5.
 
4. Pour wet mixture over dry mixture in bowl that was previously set aside.
 
5. Add apples on top of mixture and then fold through until both mixtures are fully blended together. You should end up with a dough-like consistency. It won't be runny.
 
6. Spoon dough mixture into muffin cases - I always use an ice-cream scoop with a "squeeze to empty" mechanism.
 
7. Bake in pre-heated oven for 20 minutes or until an inserted skewer comes out clean.
 
8. For the coating, place white sugar and cinnamon in a small dish and stir well to combine.

9. Taking care with the hot muffins, take each one and place face down into the dish with the cinnamon sugar. The moisture still present from the heat will be enough for the sugar to stick. If there are any small dips that miss out on sugar using this method, once turned upright, spoon a bit of sugar on top and then turn to shake off excess.

Will you be able to stop at just one?
 

19 January 2015

Orange Yoghurt Cake

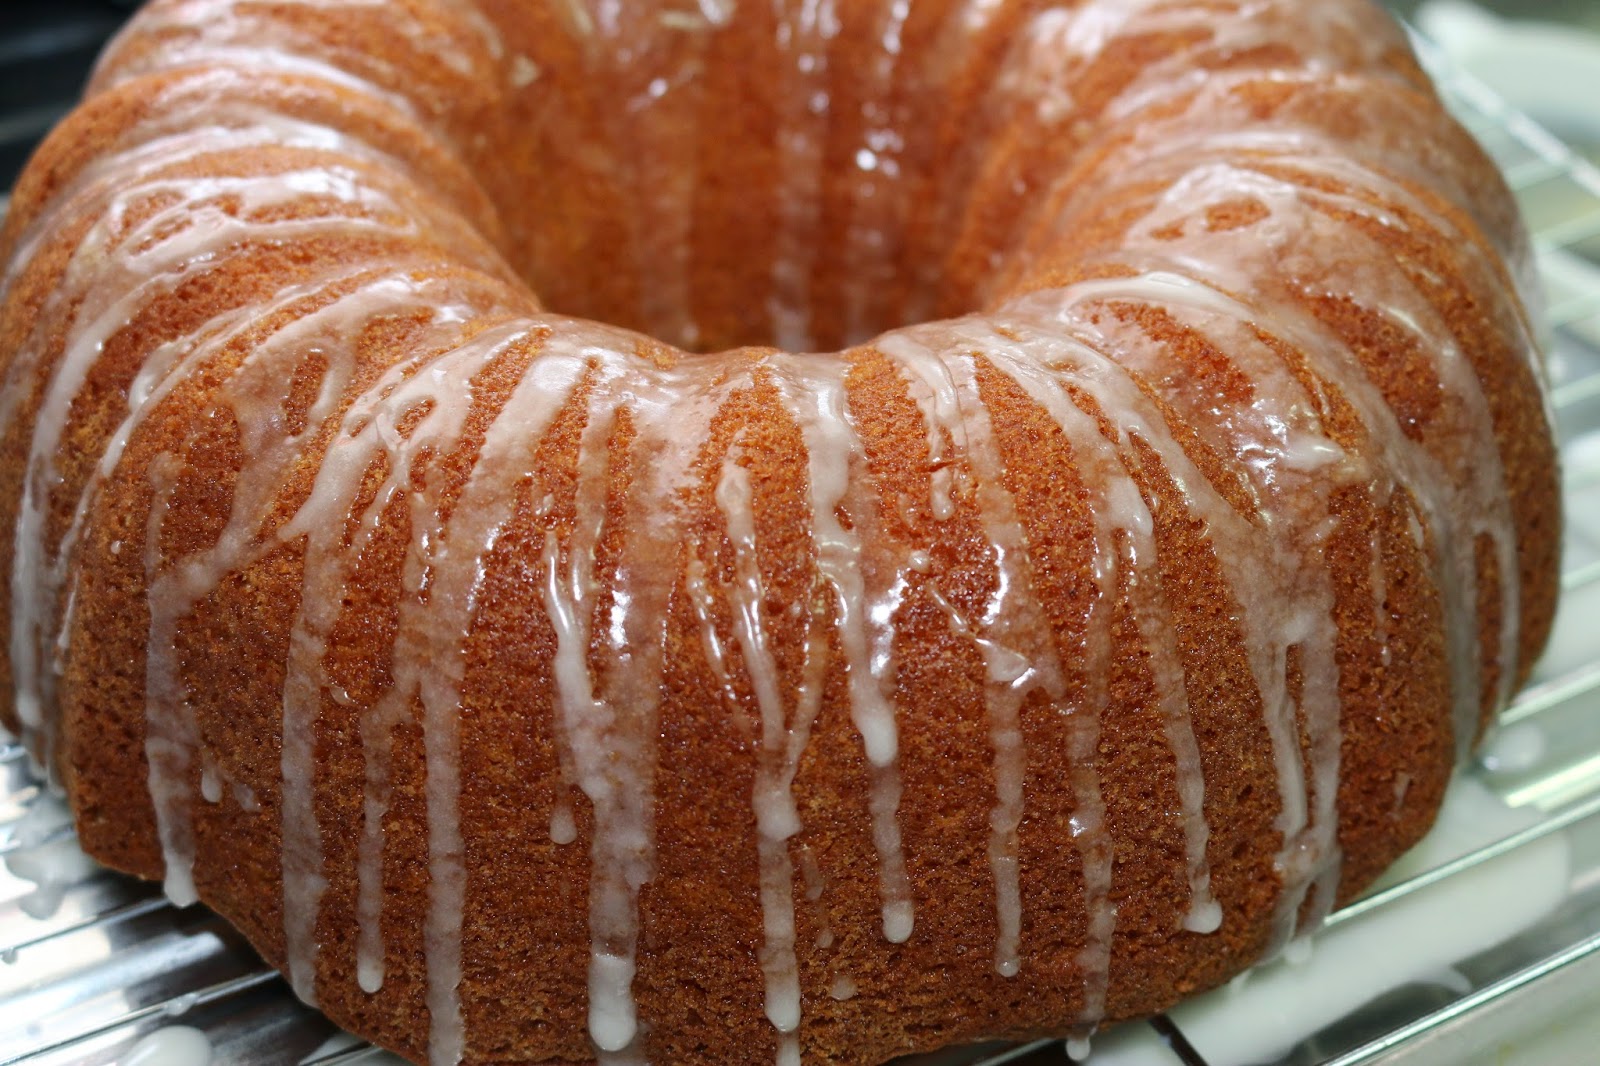
This is a recipe adapted from Donna Hay's Lemon Yoghurt Cake and everyone who tastes it, falls in love with it. My eldest son who only likes a limited number of cake flavours and always defaults to chocolate when there's a choice, lists this cake as one of his absolute favourites! It melts in your mouth. It's very simple to make and doesn't differ much from the original. It just has a slightly more subtle citrus flavour. I even took my Thermomix away on holidays with me recently and whipped up this cake for house guests. It was lovely to have a homemade treat whilst away. Don't be fooled by the name - whilst the yoghurt and fruit combination makes it sound healthy, it does have a good dose of sugar in it. But hey, as long as you're not eating it every day, it's great as a treat. 
 
Note that I have included weight and cup measurements (as does Donna Hay) because I mix mine in the Thermomix which measures ingredients by weight. This recipe is written out as a Thermomix one but can be easily mixed without. I use a large bundt tin, however I have made it in other slightly smaller tins and it has still turned out okay. It's just prettier in the bundt tin.

 
Orange Yoghurt Cake
 
3/4 cup (180ml light olive oil)
2 eggs
1 tablespoon finely grated orange rind*
1/4 cup (60ml) orange juice, either freshly squeezed or store bought
1 cup (280g) plain Greek-style yoghurt
1 3/4 cups (385g) caster sugar
2 cups (300g) self-raising flour
 
Icing
1 cup (160g) sifted icing sugar
1 tablespoon orange juice, either freshly squeezed or store bought
1/2 tablespoon boiling water
 
* You can grate this by hand or simply cut the skin off an orange and grate it in thermomix (about 30 seconds/speed 7)
 
1. Pre-heat oven to 160 degrees Celsius fan forced.
 
2. Place the oil, eggs, orange rind, orange juice, yoghurt, sugar and flour in Thermomix bowl and mix for 15 seconds, speed 5. Scrape down sides and mix for a further 10 seconds at speed 5.
 
3. Pour into a greased cake tin and bake for approximately 50 minutes or until cooked.
 
4. Allow the cake to stand for 5 minutes before turning out onto a wire rack. A handy tip if you want less cleaning up afterwards, is to place a piece of baking paper or foil on the bench/sink underneath the wire rack to catch the drippings of icing in the final step.
 
5. Whilst the cake is in the tin or immediately after turning it out onto wire rack, make the orange icing by mixing together the icing sugar, orange juice and boiling water. If it's too thick or you've made it a bit too early and it starts to harden, just add a touch more of the boiling water. I usually just mix this by hand in a small bowl.
 
6. Whilst cake is still hot, pour/drizzle the orange icing over the top, allowing it to trickle down the sides of the cake. This cake can be served almost immediately but tastes just as wonderful a few days later (if it lasts that long)!


15 August 2014

Carrot & Walnut Cupcakes with Cream Cheese Frosting

Sometimes all you need are cupcakes...and when they are as delicious as these carrot and walnut ones, you'll find it hard to stop at just one.

I have included both Thermomix and traditional recipe details for this one because it's just too good not to share with everyone. They just melt in your mouth. Hope you enjoy!


Carrot & Walnut Cupcakes with Cream Cheese Frosting

Makes 12

Cupcakes

50g (or 1/2 cup) walnuts
210g (or 3-4 whole) baby carrots*
130g (or 1 cup) plain flour
1 teaspoon baking powder
1 teaspoon bicarbonate soda
1 teaspoon ground cinnamon
1 teaspoon salt
130g (or 2/3 cup) light olive oil
120g (or 2/3 cup) caster sugar
2 eggs

* Once grated, you should have 1 1/2 cups if using traditional recipe.

Frosting

60g cream cheese (I use Philadelphia)
30g butter, softened
1/2 teaspoon vanilla essence
50g (or 3/4 cup pure icing sugar)

1. Chop walnuts. If using a Thermomix, chop for 4 seconds/speed 4. Set aside.

2. Peel and grate carrots. If using a Thermomix, peel and roughly chop into thirds. Then grate/chop for 10 seconds/speed 9. Set aside.

3. Sift flour, baking powder, bicarbonate soda, cinnamon and salt into bowl. If using a Thermomix, simply measure into bowl and mill for 10 seconds/speed 9.

4. For those working without a Thermomix, combine oil, sugar and eggs in a separate bowl and then mix the two lots together until well combined. Thermomix owners, add oil, sugar and eggs directly to bowl with other ingredients and mix for 20 seconds/speed 5.

5. Add previously set aside walnuts and carrot to the mixture and blend well. Thermomix users, mix for 20 seconds/speed 5.

6. Spoon mixture into individual cupcake cases and bake in 180 degree Celsius fan forced oven for approximately 20 minutes or until cooked through.


7. For the frosting, place cream cheese, butter and vanilla in a bowl and beat until pale. Thermomix users, place cream cheese, butter and vanilla in bowl and whip for 20 seconds/speed 3.5.

8. Gradually add icing sugar until combined. Thermomix users, add icing sugar and beat for 10 seconds/speed 4. Scrape down sides and repeat.

9. Once cupcakes have cooled, pipe a dollop of the frosting onto the centre of each one. If you want the tops of cupcakes completely covered, you will need to double the frosting recipe.

23 June 2014

Magic Bean Cupcakes with Chocolate Frosting

I first heard about the "Magic Bean Cake" from a Thermomix consultant. I found various versions of it on the Thermomix recipe site and the rest is history - we all love it! One of the best parts about serving it to someone for the first time is having them guess the key ingredient. They won't believe you when you tell them it is made with red kidney beans! If you want to make yourself feel even better about indulging in this delicious chocolate treat, just have a quick read about the benefits of eating kidney beans. You definitely need this cupcake in your diet!
 
I have included both the Thermomix and traditional versions of the recipe below. Feel free to experiment with ingredients as well. I know some people have made it dairy free by replacing the butter with oil, and some have replaced the caster sugar with natural sugar alternatives. However, the recipe below is the one I've tried and enjoyed. It is super moist and very yummy :)
 
Regarding the decorating of the cupcakes, you can do this any way you want. Pipe the frosting or spread it and add any decorations you wish.
 

 Magic Bean Cupcakes with Chocolate Frosting (Thermomix)

Makes 12

Cupcakes
400g tin of red kidney beans, drained
1 tablespoon water
1 tablespoon vanilla bean paste
70g cocoa powder
1 teaspoon baking powder
1/2 teaspoon bicarbonate soda
1/4 teaspoon salt
125g butter
5 eggs
150g caster sugar*

* Original recipe had 180g sugar but I reduced it and still found it okay, especially since frosting also adds sweetness.

 1. Place beans, water, one egg and vanilla paste in Thermomix bowl and puree until smooth, then set aside. I blend for 50 seconds on Speed 7.

2. Beat the butter and sugar for 30 seconds, Speed 5.

3. Add the 4 remaining eggs and beat for 20 seconds, Speed 4.

4. Add the reserved bean mixture and beat for 5 seconds, Speed 4.

5. Add the cocoa powder, baking powder, bicarbonate soda and salt and blend for 10 seconds,
Speed 4.

6. Pour batter into individual cupcake cases (I use an ice-cream scoop to make this easier) and bake in 160 degree Celsius fan forced oven for 20 minutes or until a skewer/toothpick is inserted and comes out clean.

Frosting

60g dark chocolate, broken into pieces
100g icing sugar
100g butter, softened

1. Place chocolate into mixing bowl and grate for 3 seconds, Speed 8.

2. Melt chocolate for 3-4 minutes, 50 degrees, Speed 1.

3. Add icing sugar and butter and whip for 10 seconds, Speed 5.

4. Decorate cooled cupcakes.


Magic Bean Cupcakes with Chocolate Frosting (Traditional)

Makes 12

Cupcakes
400g tin of red kidney beans, drained
1 tablespoon water
1 tablespoon vanilla bean paste
3 1/2 tablespoons cocoa powder
1 teaspoon baking powder
1/2 teaspoon bicarbonate soda
1/4 teaspoon salt
125g butter
5 eggs
3/4 cup caster sugar


1. Place beans, water, one egg and vanilla paste in food processor and puree until smooth, then set aside. Below is a photo of the bean puree as blended in the Thermomix, to give you an idea of what it should look like.


2. Beat the butter and sugar on medium speed until well combined.

3. Add the 4 remaining eggs and beat on medium speed until all ingredients combined.

4. Add the reserved bean puree and give it a quick mix on medium speed to incorporate it into the mixture.

5. Add the cocoa powder, baking powder, bicarbonate soda and salt and mix until all combined.

6. Pour batter into individual cupcake cases (I use an ice-cream scoop to make this easier) and bake in 160 degree Celsius fan forced oven for 20 minutes or until a skewer/toothpick is inserted and comes out clean.

Frosting

60g dark chocolate, broken into pieces
1/2 cup icing sugar
100g butter, softened

1. Place icing sugar and butter in a cake mixer and whip until combined.

2. Melt chocolate over low heat and add to icing sugar and butter mixture.

2. Mix well on medium speed until frosting is fluffy.

4. Decorate cooled cupcakes.

8 June 2014

Nutella Cake in a Cup

I know a few people have been waiting for this one! A dessert treat that's completely indulgent, but guaranteed to solve your craving for chocolate. Let's face it, some Winter days (like today) are just made for desserts like this! This is in no way a healthy option, but as an occasional treat, it is perfect. Enjoy!


Nutella Cake in a Cup

Serves 1

4 tablespoons self raising flour
4 teaspoons cocoa powder
1 tablespoon caster sugar
pinch of salt
1 teaspoon of oil*
3 tablespoons water
1/4 teaspoon of vanilla essence
1 tablespoon Nutella chocolate spread

* I used light olive oil but you can substitute other oils.


1. Place flour, cocoa, caster sugar and salt in a microwave safe cup and mix together with a spoon.

2. Add oil, water and vanilla essence and stir again, ensuring it is completely combined and that no air pockets of flour remain.

3. Add the Nutella to the centre, pushing it down into the batter a little but not submerging it completely.

4. Bake in microwave on high for 1 minute.

I made mine in a large mug/cup and cake rose to about 3/4 of the way up.
It is very decadent so you may want to share a cup with someone, halve the recipe or eat it with a dollop of cream (to cut through the richness).

Do you have a favourite cake in a cup recipe?