21 April 2015

Pea and Mushroom Cauliflower "Rice"

Cauliflower "rice" seems to be all the rage at the moment. I see it popping up on all sorts of diet and healthy eating sites, as well as on cooking shows. Basically, it is the use of cauliflower in place of rice - a lower calorie, healthier option for those who don't want to load up on carbs. Whilst I'm definitely a carb fan and could never give up rice entirely, cauliflower rice is a tasty option.  Whilst many use it as a plain base for casseroles, I've chosen to add a couple more vegetables. I was going to add a little bacon as well but I forgot to buy it! We had ours as a side dish but it could easily be a great little lunch meal. Likewise, the ingredient quantities are suggestions only - you can adjust everything to your own taste. 
 
Steamy stove top photo :)
 Pea and Mushroom Cauliflower "Rice"

Serves 4-6 (as a side dish)

1/2 head of cauliflower
200g button mushrooms, chopped into quarters or sixths depending on size
1 cup frozen peas
Couple of handfuls of chopped spring onion
2 tablespoons Olive oil
Salt & pepper to taste
Chilli flakes to taste

1. Clean cauliflower and roughly chop. Place into food processor and process until cauliflower is of a fine, grain-like consistency. Alternatively, you can grate the cauliflower or if you have a Thermomix, grate for about 5 seconds/speed 5-6. Set aside.

This is how your cauliflower should look after processing/grating.

2. Heat oil to a medium heat and add peas and mushrooms. Saute until vegetables are softened and starting to brown.
 
3. Turn up heat and add cauliflower. Mix through well and continue to cook for 3-5 minutes or until cauliflower softens and starts to brown.
 
4. Add salt, pepper and chilli to taste and stir through.
 
5. Finally, add spring onions and cook for another minute.
 
6. Serve immediately and enjoy :)

20 April 2015

Balla, The Star, Sydney

Last time my husband and I visited Balla, housed at The Star in Sydney, we were gifted with a table by the large windows overlooking the harbour and great lighting for photos - always a huge bonus for foodies who like to share! I had previously written about Balla on my former blog and was always looking for an opportunity to revisit it on behalf of Sugar and Salt.

 
Photo from The Star website
Balla is Stefano Manfredi's baby and he has said that it is probably the most Italian restaurant he has opened. He overlooked the entire design of the food menu as well as the wholly Italian wine collection and the space in which it is all housed.

I think he did an amazing job putting everything together - Balla has a wonderful Sydney seaside ambiance and I still love it. The very first time we visited Balla, we were seated at one of the bench seats and at first I thought I was a bit too close to neighbouring patrons but this is in keeping with Manfredi's vision of shared tables as in an authentic Milanese osteria. Besides, I quickly overcame my reservations as the restaurant started to fill and the food arrived without delay. The decor is wonderfully fresh and unique, and the views are beautiful. I cannot believe The Star was previously not making good use of that particular side of the building!

If you want to see some gorgeous photos of the interior, along with some special dishes served at a private dinner when Balla first opened, head on over to the blog Not Quite Nigella. Blogger Lorraine Elliot, as you can probably guess, is a food enthusiast and writer who was lucky enough to attend this private dinner! I believe her husband may have taken the photos of the restaurant which are simply gorgeous. She got all the inside goss on the design of the restaurant and how much everything cost - I was intrigued reading about the lighting and the mosaic tiles.

We have eaten at Balla a number of times, particularly before heading to The Lyric Theatre for a show, as it is so close. On our latest visit we were seated at a small table nestled in the corner with great views. One of our favourite things about Balla is that they are spot on with their portion sizes. Following is a pictorial journey of our last visit.


Roasted Quail with radicchio, figs and balsamic.

Grilled Cauliflower with truffle pecorino, cured egg yolk and macadamia.

Tagliatelle with slipper lobster, tomato, capers and oregano.

Potato Gnocchi with pork shoulder ragu.

Scampi with shaved Autumn vegetables and Tuscan oil.

Pan Roasted Duck Breast with sautéed parsnip, radicchio and mustard plum.


Coffee Brulee with chocolate biscuit, raspberry and almond praline.
As usual, Balla got it right with all their flavours marrying perfectly. The standout dish for me were the gnocchi. I've had gnocchi there in various ways and each time they seem to nail the dish!

The dessert was also gorgeous. The biscuit base was a little thick and hard to crack but we successfully got to it without a scene. I would definitely order it again because it was delicious.

You can view the current dinner menu here and the dessert menu here. Definitely worth a visit, particularly if you're in Sydney and looking for a pre-show dinner.

19 April 2015

Brownie Cookies

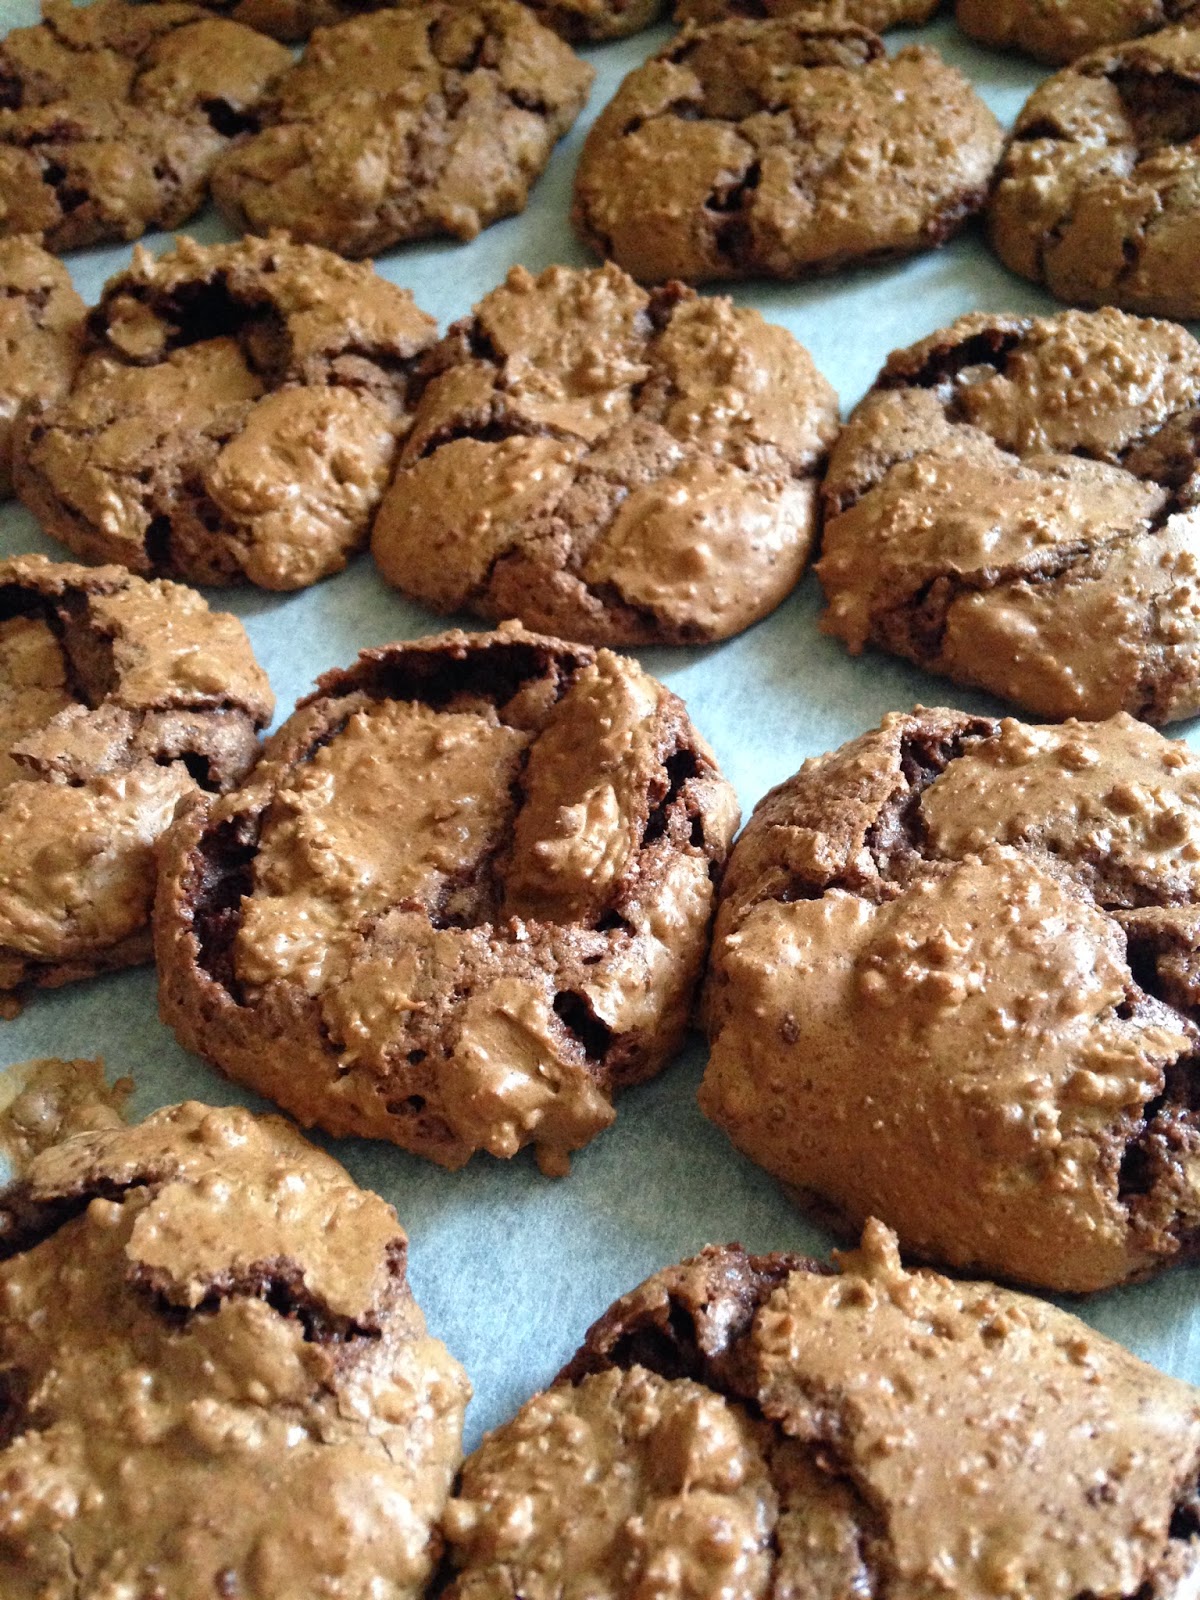
Who doesn't love a great cookie? This one was certainly a big hit with everyone who tried it, from young children to adults. With a crunchy outer layer and a chewy, soft centre it's no surprise that they were snapped up and devoured quickly. You can find this Donna Hay recipe here. Ms Hay actually sandwiches two cookies together with peanut butter frosting and I had the same intention when I began to bake them. However, some misadventure in the kitchen resulted in burned fingers that day and I had to abandon that plan. Instead, I served the cookies on their own and discovered they were wonderful just as they were.
 
My recipe below gives instructions for making the cookies using a Thermomix. However, as always, you can follow the original recipe from the link above if you don't own a Thermomix.


Brownie Cookies

Makes approx. 24 cookies

350g dark chocolate
40g butter
2 eggs
150g caster sugar
1 teaspoon vanilla extract
35g plain flour
1/4 teaspoon baking powder

1. Preheat oven to 180 degrees Celsius fan forced.

2. Place 150g of the dark chocolate into Thermomix bowl, roughly broken up. Grate for 10 seconds/speed 9 and then set aside.

3. Place the remaining 200g of chocolate in the bowl, also roughly broken up and grate for 10 seconds/speed 9. Scrape down sides if necessary.

4. Add butter to chocolate in bowl and melt for 3 minutes/50 degrees/speed 3. Then set aside and clean bowl.

5. Place eggs, sugar and vanilla into cleaned Thermomix bowl and beat for 20 seconds/speed 5-6 or until mixture is pale and creamy.

6. Add flour, baking powder and both lots of chocolate previously set aside. Mix for 20 seconds/speed 5.

7. Let mixture stand for 10 minutes - it will be almost firm in its consistency. Then spoon onto a lined baking tray using a tablespoon for an approximate measurement of each cookie. I've included a photo of the raw dough below so that you can see how it is meant to look. As the cookies bake, they will spread out and rise.


8. Bake for about 10 minutes or until cookies are puffed and cracked. Then remove from oven and allow them to cool completely. As they cool, they will "collapse" so you get a rustic, cracked cookie - this is exactly what they are meant to do.

13 February 2015

High Tea at the Hydro Majestic Hotel

I recently had the pleasure of experiencing high tea at the aptly named Hydro Majestic in Medlow Bath - a small township nestled in New South Wales' Blue Mountains. The hotel has a very long and rich history, having opened its doors as Australia's first health retreat back in 1904 and even serving as US military hospital in 1942.

It is not surprising that this icon of the hospitality industry is heritage listed, because even without its historical tales, it is architecturally stunning. The hotel's most recent refurbishment cost $30 million as its new owners (who paid $11 million for the property) sought to restore it to its former glory. It is absolutely stunning as the photos below indicate and had us in awe as soon as we stepped through the doors. You truly feel like you're stepping back in time to a Great Gatsby-esque era.


 The Casino Lobby must be seen in person to be appreciated. Source
The elegantly fitted out Wintergarden Restaurant that hosts High Tea every day.
Photo credit: Ramona/Charlize.

Panoramic views of Megalong Valley, accessed by large windows along the length of the
Wintergarden Restaurant are just stunning.
Coupled with the gentle background music of the resident piano player, it proved a very relaxing afternoon.
There is nothing more delectable than high tea with wonderful friends, and the Hydro does not disappoint. You literally step off a busy highway and escape into a peaceful and enchanting world that harks back to old fashioned gatherings. Whilst these days high teas take many forms, and can even include extensive buffets, the Hydro's sweet and savoury treats are served at tables on tiered trays with pots of tea or other beverage choices.


High Tea is served daily from 11am to 5pm and starts at $55 per person on weekdays and $65 per person on weekends. Reservations are essential.
 
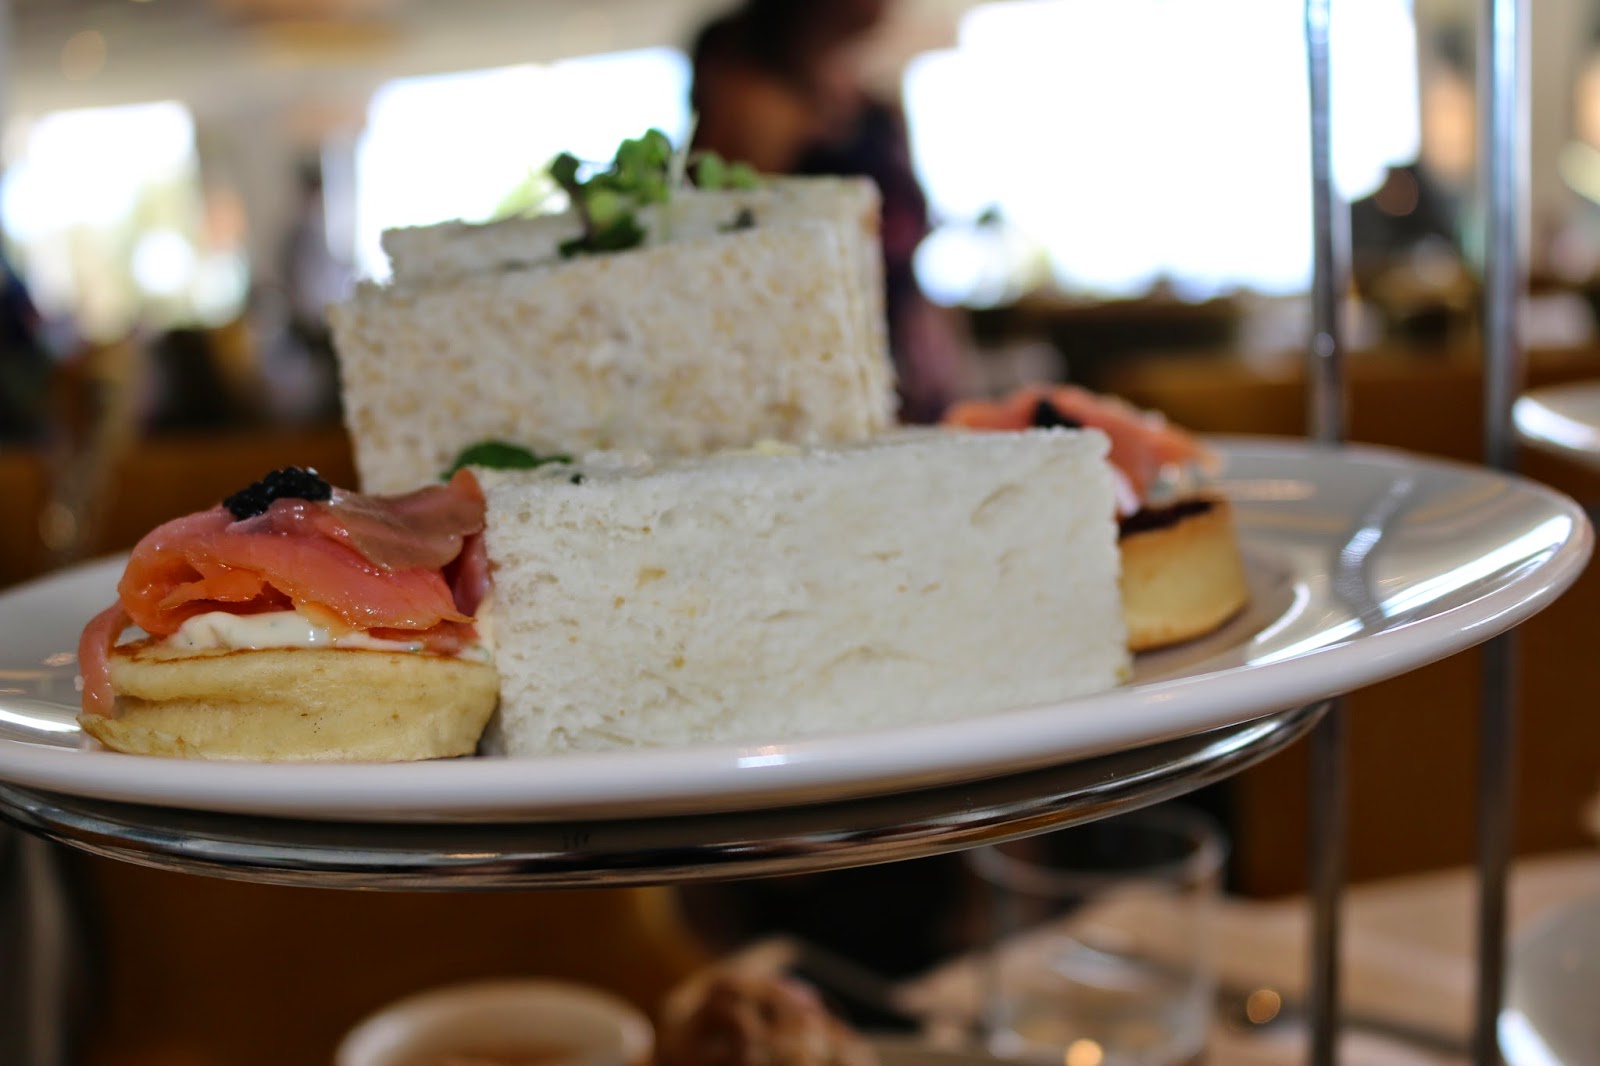
It includes a selection of finger sandwiches, with traditional fillings like chicken or cucumber as well as delicious savoury pikelets and tarts.
 
 
The scones, topped with homemade jam and clotted cream, just melt in the mouth...
 

And of course, no high tea would be complete without sweet treats and I'm pleased to say that nothing on this top tier was sickly sweet...which meant we could fit more in! I find that macaroons often fall into the too-sweet category but these lavender coloured, passion fruit-filled and chocolate dipped ones were just perfect!

 
Special dietary requirements can also be accommodated. One of our party was served a gluten free 3-tier selection of delicious food which looked just as wonderful as ours.
 
Not to be left out, the children who were with us were served from the children's high tea menu. At $35 per person for ages 3-12 years, it included a selection of sandwich soldiers, sweet treats and pikelets with jam and cream.
 
I must give a special shout out to the staff that served us as well, for no request was too much hassle. We even had them move us from a large table to a smaller one so we could gossip more effectively :)
 
We loved our afternoon at the Hydro Majestic so much that we plan to return for a stay, perhaps sometime in Winter. What would be nicer than sitting by a large open fire, looking across at that beautiful view?


5 February 2015

Nutella Brioche

After seeing various versions of this recipe floating around on social media, I decided I would give it a go myself. The first time I attempted to make it, I was in a rush and could tell that my dough wasn't right so I binned it without even trying it. But today I had plenty of time, and so in a relaxed and happy state, using a combination of recipes (including the brioche recipe from the Everyday Thermomix Cookbook), I made my Nutella Brioche.
 
This a great looking dessert and quite simple to make. The bonus came when I found out that today is World Nutella Day! What better occasion than this to share this recipe? It was a winner with all the Nutella addicts at our weekly family night dinner! It's the perfect tear apart bread for those with a bit of a sweet tooth. Warning though - it is very filling and once you start, you just can't seem to stop tearing off pieces and devouring them.
 
As always, the recipe can easily be adapted if you don't own a Thermomix. You just have to add a bit more time to knead the dough by hand. I've also tried to add a few photos showing the process of putting it all together.


Nutella Brioche
 
55g caster sugar
330g milk
1 sachet of dried instant yeast (7g)
80g softened butter
1 teaspoon sea salt
650g baker's flour
1 egg
 
1 egg white
1 tablespoon milk
1 tablespoon vanilla extract
 
1. Place sugar, milk and yeast into Thermomix and heat for 1 minute at 37 degrees on speed 1.
 
2. Add butter, salt, flour and whole egg and mix for 10 seconds, speed 7 in order to combine ingredients. Then knead for 3 minutes.
 
3. Turn dough out and work into a ball and then set aside in a covered bowl in order to let it prove/rise. This should take about 30 minutes. These days I always set dough aside in a lightly greased bowl over another bowl of boiled water to speed along the process and ensure that my dough does rise if the temperature inside my house isn't playing nice.

 
Seems a bit of a contraption, but now I always use this method!
 
4. Preheat oven to 180 degrees Celsius fan forced and once dough is ready, divide into 4 roughly equal portions.
 
5. Take first portion of dough and on a lightly floured surface, roll it out using a rolling pin until you have a large, pizza-like shape. Place the rolled out, flattened dough on a lightly floured pizza oven tray or on baking paper on a heat proof tray.
 
6. Slather with Nutella!
 
The first layer of the brioche.
7. Roll out another quarter of the dough in the same way and place on top of the Nutella layer. Then slather that layer with Nutella as well. Repeat this step for the third piece of dough. Then roll out the final piece of dough and place on top. Do not add Nutella to very top layer. In essence, what you should have at this stage is a four layered Nutella dough structure.

8. If you haven't mastered perfect dough circles, then like me, you will need to ensure your dough structure is circular. The easiest way to do this is to place a plate upside down on the dough and cut around the outside edge using a sharp knife. You can either throw these scraps out or use them for taste testing purposes - perfectly legit! Just throw them on another tray so they can go into the oven with your brioche when it's ready.


Use a plate to help you get a round shape.
9. Next, grab a glass and press down with the rim in the centre of the dough. Don't cut all the way through to the bottom but make enough of an indent so that you clearly have a centre.


Indent made by glass in centre of dough.
10. Without cutting into that centre circle made by the glass, use a very sharp knife to divide the rest of the dough into 16 equal pieces.


The cut up dough.
11. Now here's the bit that creates the wow factor but is really rather simple! Just grab two pieces next to each other and twist both inwards towards each other - a couple of twists will suffice. This part can get a little messy, and I like to wipe my hands before I twist each pair, but any smudges of Nutella get swept away by the wash in the final step before cooking - and once cooked, you can't see them anyway!

The first two pieces after being twisted.
12. Repeat previous step for the rest of the pairs in the circle - easy and quick!


Twisted and almost ready for baking.
 
13. In a small bowl, whisk together egg white, milk and vanilla essence and brush all over the brioche.

14. Place brioche, uncovered, in preheated oven and bake for approximately 20 minutes or until golden brown. Remove and enjoy warm or cold.

Happy World Nutella Day!


19 January 2015

Orange Yoghurt Cake

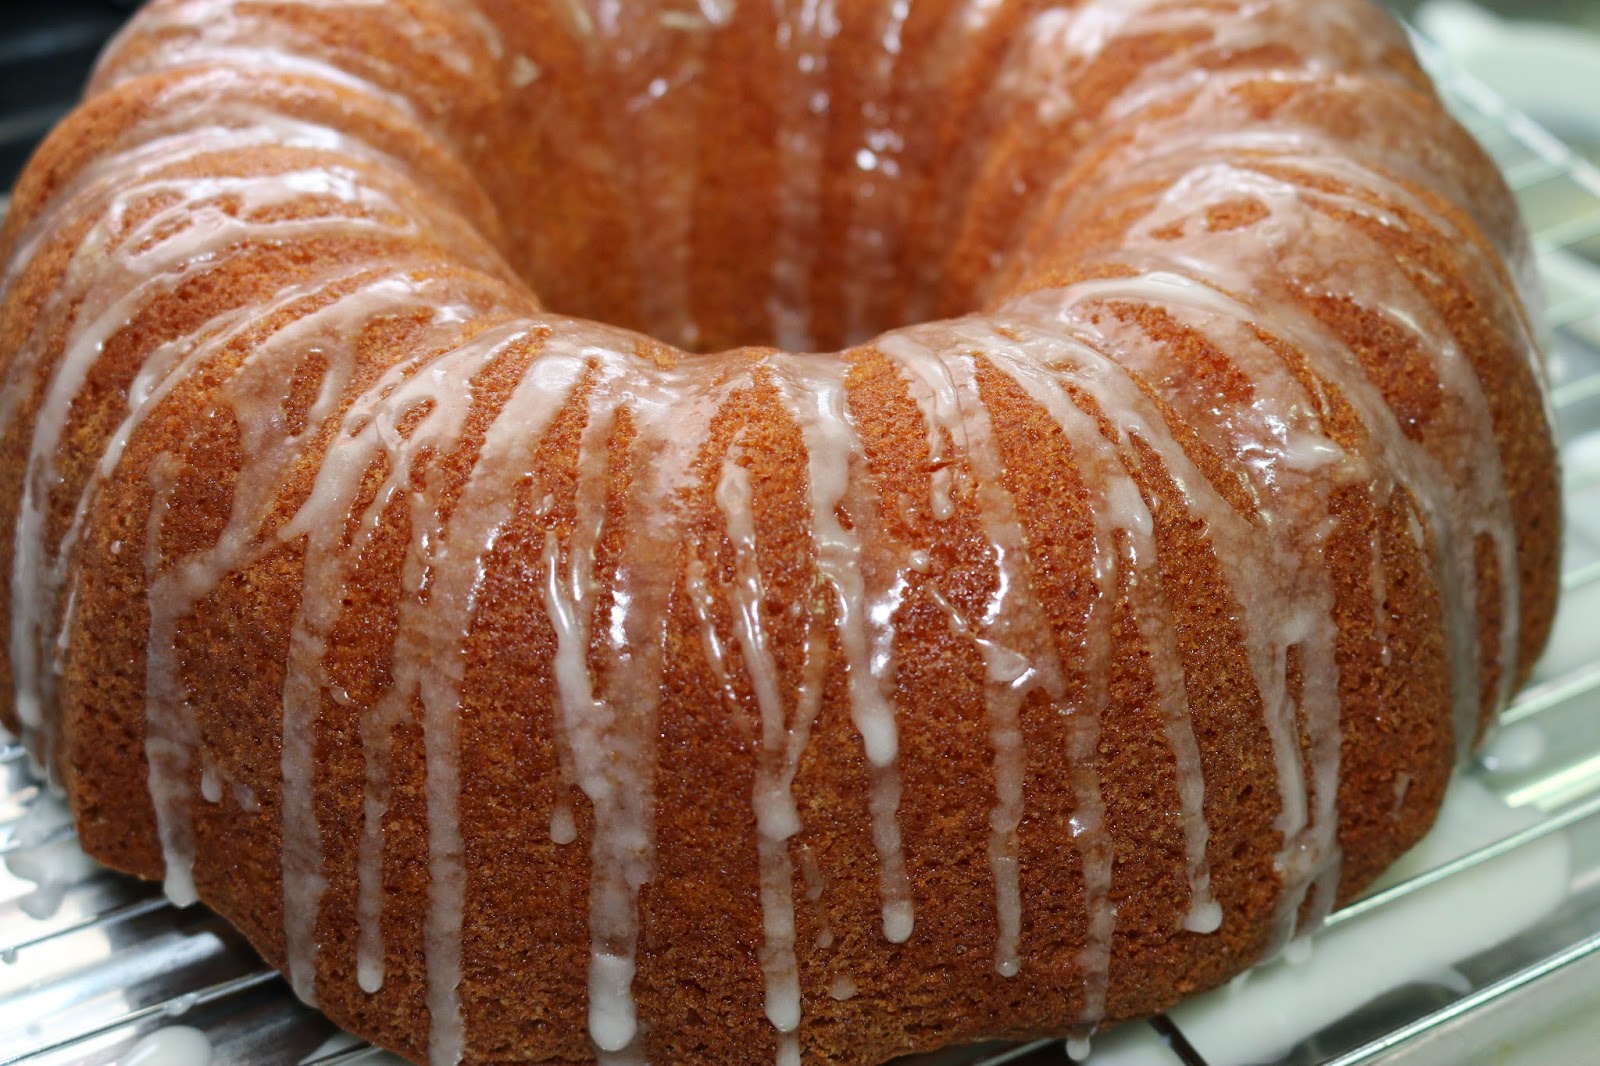
This is a recipe adapted from Donna Hay's Lemon Yoghurt Cake and everyone who tastes it, falls in love with it. My eldest son who only likes a limited number of cake flavours and always defaults to chocolate when there's a choice, lists this cake as one of his absolute favourites! It melts in your mouth. It's very simple to make and doesn't differ much from the original. It just has a slightly more subtle citrus flavour. I even took my Thermomix away on holidays with me recently and whipped up this cake for house guests. It was lovely to have a homemade treat whilst away. Don't be fooled by the name - whilst the yoghurt and fruit combination makes it sound healthy, it does have a good dose of sugar in it. But hey, as long as you're not eating it every day, it's great as a treat. 
 
Note that I have included weight and cup measurements (as does Donna Hay) because I mix mine in the Thermomix which measures ingredients by weight. This recipe is written out as a Thermomix one but can be easily mixed without. I use a large bundt tin, however I have made it in other slightly smaller tins and it has still turned out okay. It's just prettier in the bundt tin.

 
Orange Yoghurt Cake
 
3/4 cup (180ml light olive oil)
2 eggs
1 tablespoon finely grated orange rind*
1/4 cup (60ml) orange juice, either freshly squeezed or store bought
1 cup (280g) plain Greek-style yoghurt
1 3/4 cups (385g) caster sugar
2 cups (300g) self-raising flour
 
Icing
1 cup (160g) sifted icing sugar
1 tablespoon orange juice, either freshly squeezed or store bought
1/2 tablespoon boiling water
 
* You can grate this by hand or simply cut the skin off an orange and grate it in thermomix (about 30 seconds/speed 7)
 
1. Pre-heat oven to 160 degrees Celsius fan forced.
 
2. Place the oil, eggs, orange rind, orange juice, yoghurt, sugar and flour in Thermomix bowl and mix for 15 seconds, speed 5. Scrape down sides and mix for a further 10 seconds at speed 5.
 
3. Pour into a greased cake tin and bake for approximately 50 minutes or until cooked.
 
4. Allow the cake to stand for 5 minutes before turning out onto a wire rack. A handy tip if you want less cleaning up afterwards, is to place a piece of baking paper or foil on the bench/sink underneath the wire rack to catch the drippings of icing in the final step.
 
5. Whilst the cake is in the tin or immediately after turning it out onto wire rack, make the orange icing by mixing together the icing sugar, orange juice and boiling water. If it's too thick or you've made it a bit too early and it starts to harden, just add a touch more of the boiling water. I usually just mix this by hand in a small bowl.
 
6. Whilst cake is still hot, pour/drizzle the orange icing over the top, allowing it to trickle down the sides of the cake. This cake can be served almost immediately but tastes just as wonderful a few days later (if it lasts that long)!


28 December 2014

BLACK by Ezard at The Star, Sydney

 
As you all know, I love to eat...and truth be told, I love to eat out more than I love to cook. Discovering new restaurants with delicious food would have to be one of my favourite hobbies. This was our first visit to BLACK by Ezard, even though it has been a fixture amongst The Star, Sydney's fine eateries since 2011. What took me so long?
 
Part of Teage Ezard's stable of restaurants, BLACK encapsulates the spirit of Sydney - sophisticated yet comfortable. The plush interior with its 30 chef show kitchen is visually appealing and so is the view from many of its tables. We had an early pre-theatre show booking and were seated next to the large windows overlooking the harbour, making not only for an amazing view (and some interesting people watching), but also great lighting for food photography - a rare treat!
 
We started off our dining experience with a complimentary, delicious, warm mini brioche loaf and butter. Surprisingly, we were brought a second loaf after we downed the first...and we just couldn't refuse!
 
Following is a visual feast of the rest of our food. My husband likened these dishes to those at the 6 star Wolgan Valley Resort in terms of presentation. They were pretty amazing in terms of flavour combinations as well. Not surprising, considering BLACK by Ezard was awarded Three Chef's Hats in the 2014 Gault & Millau Sydney Restaurant Guide ​​​​​​​​and One Chef's Hat in the SMH Good Food Guide 2015.
 
We decided to share a couple of starters. The first was the Tomato Vine Ripened Salad which included a variety of tomatoes, buffalo cheese, green kalamata olives, white balsamic and basil dressing. It sounds deceptively simple yet tasted amazing and looked pretty as well. With added mousse, the saltiness of parmesan and the crunch of pine nuts, it delivered as an entrée to a great menu.
 

We also enjoyed the King Prawns with seaweed butter. I can't say that they slid out of their shells effortlessly but they were worth the cutlery struggle. Again, the presentation looked clean and fresh.


We could have chosen something from the wood burning grill for our mains but we couldn't go past the two following dishes! They sounded too good to pass up - and our deal was that we had to share with each other!

I ordered the handmade Potato Gnocchi, which I must say leave mine for dead! They absolutely melt in the mouth and teamed with crispy zucchini flowers, hazelnut dressing and ricotta cheese, they are undeniably delicious. I would never think to add whole hazelnuts to a gnocchi dish but the nutty flavour worked so well with the ricotta and zucchini flowers. I found myself scraping the bottom of the plate with my fork, trying not to leave any drop of deliciousness behind. I highly recommend this stunning dish.


Anyone who knows me, knows I can't go past a delicious sounding pork dish - which is exactly why I convinced my husband to order it hehe... I must admit that when it first arrived at the table, it wasn't what I was expecting. I wasn't sure how tender the pork would be but one mouthful and I was in heaven. The Spice Crusted Pork Tenderloin was teamed with blood plum, fennel and witlof, cider, mustard emulsion and puffed pork crackle. An almost perfect dish. The pork was extremely tender and the flavour combination was spot on! The puffed pork crackle looked great for presentation but in this respect, I'm a traditional girl - give me a piece of pork crackling any day - I want the real deal! Don't let this put you off this dish though. It's still worth every cent of the asking price.

 
Part of my aim in making an early booking was to ensure we had time for dessert before rushing off to watch the show. This dessert does not disappoint! It's not far off being described as orgasmic! Butterscotch Crème Brulee with green apple and toasted pistachio, a sorbet that lent a touch of bitterness and a smooth mango puree. The crème brulee was silky smooth and melted in the mouth, as a good brulee should. It could stand alone as a dessert and still impress, however set with the other elements on this dish, this dessert is lifted to a whole new level. I'm sitting here salivating as I type - a definite winner and another dish that I highly recommend. It had everything - great taste, great texture and great looks!
 

All in all, we could not fault our first experience at BLACK and will definitely return to taste more from this European and American grill inspired menu.